
Filing your taxes might feel like solving a giant puzzle. While most people now e-file, mailing a paper return is still an option many choose. Some do it for peace of mind, because they need to include extra documents, or simply because they prefer paper. Whatever your reason, the way you handle your paper tax return matters—a single mistake could mean processing delays, penalties, or even an IRS notice. Follow these steps to mail your tax return correctly the first time.
Preparing Your Tax Return for Mailing
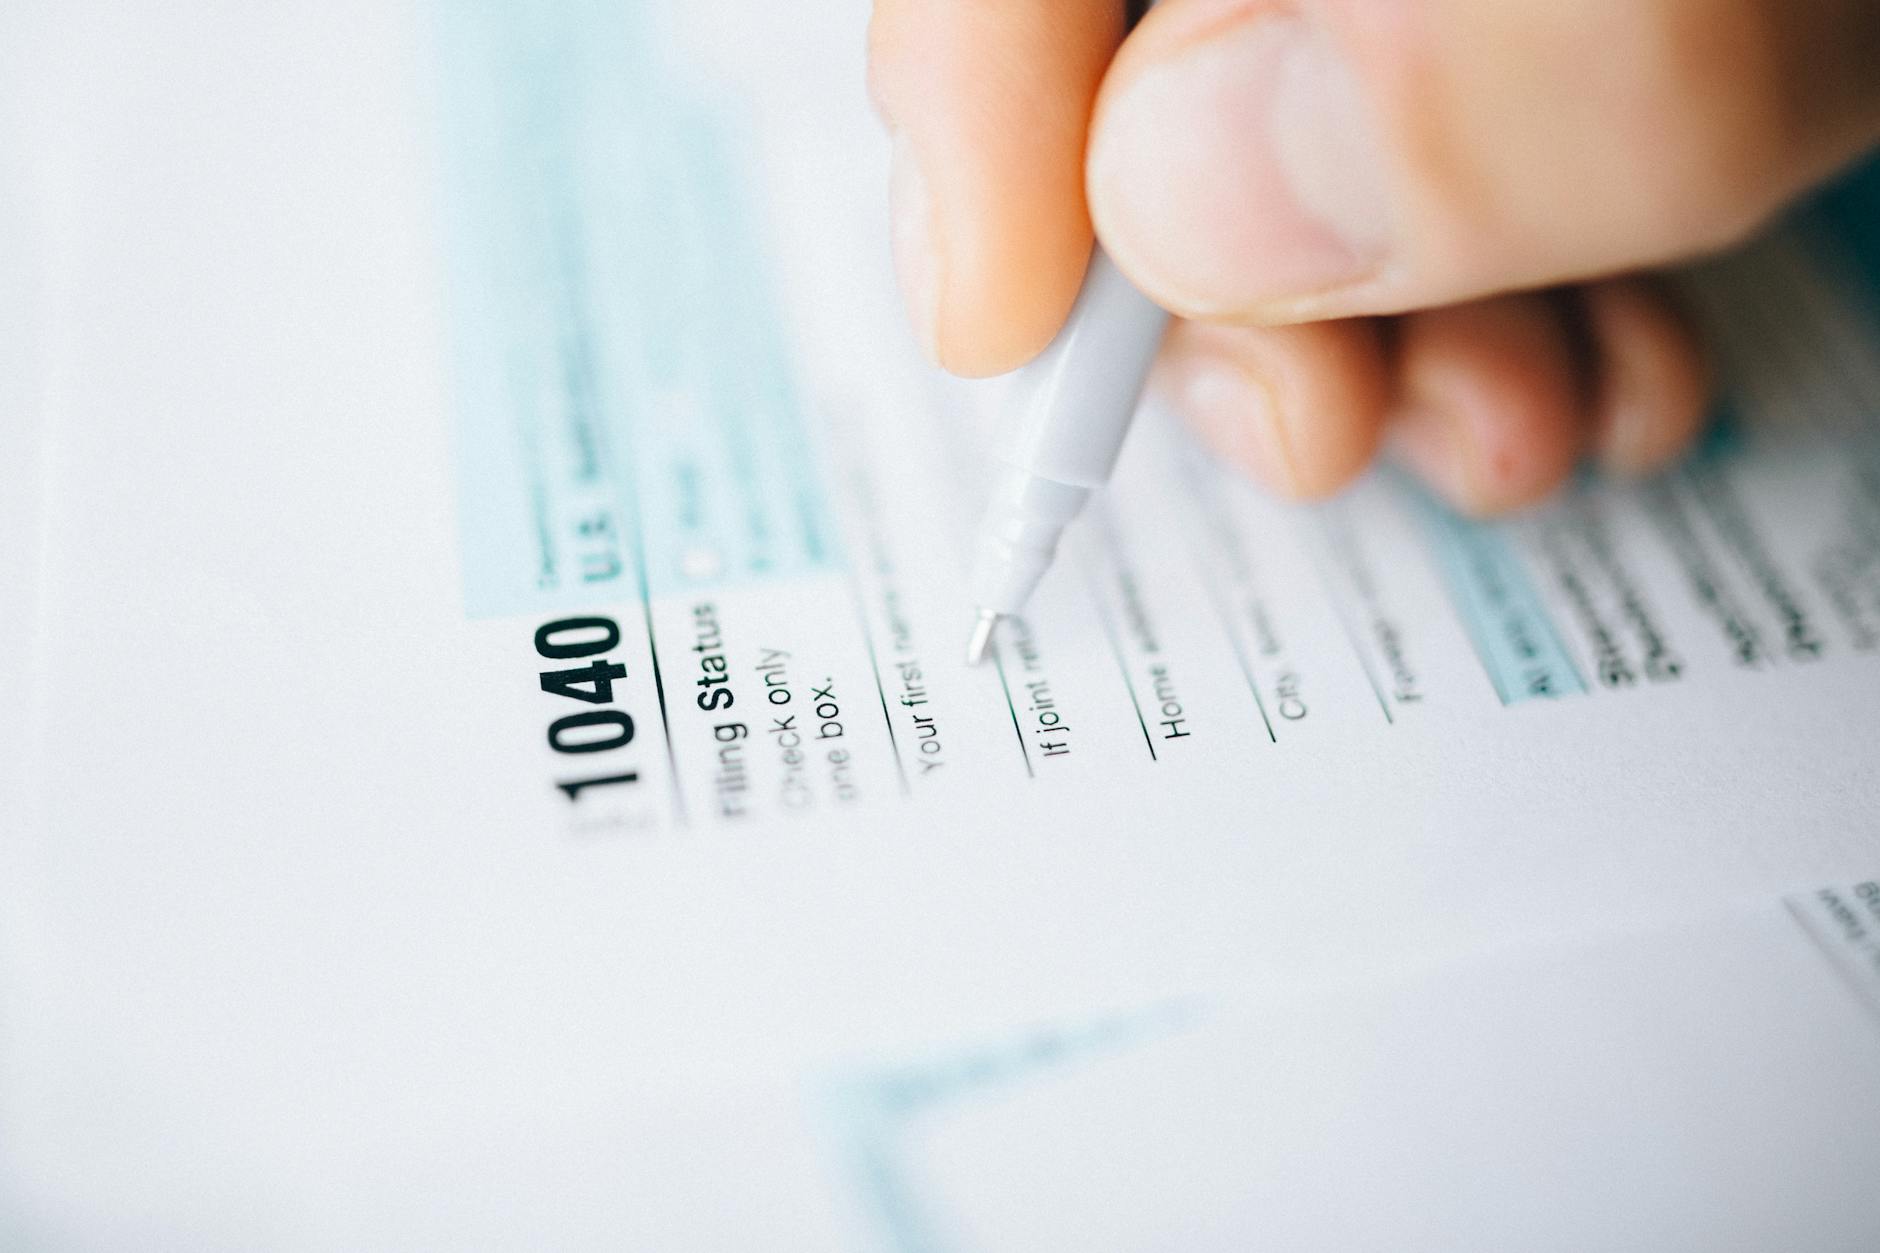 Photo by Nataliya Vaitkevich
Attention to detail matters more than speed here. Before mailing, you’ll need your tax forms filled out with care, all the required documents, and the right signatures. Let’s break it down step by step.
Gathering Required Tax Forms and Attachments
First, collect everything you’ll need:
- Form 1040 (or 1040-SR for seniors)
- W-2s from each job
- 1099s for freelance work, investments, or unemployment income
- All schedules or forms showing deductions, credits, or other income (like Schedule A for itemized deductions or Schedule C for self-employed)
- Any statements related to health insurance (like Form 1095-A)
- Supporting documents for anything that might raise questions—like proof of child care expenses or student loan interest
Sort your papers by type. Group them by form, then by supporting documents. Make clear copies for your records before mailing—mistakes happen and having a backup saves headaches later.
Completing and Reviewing Your Tax Forms
Accuracy can make or break your filing. Use black ink and write clearly or type your forms if possible.
Check these spots:
- Every Social Security number matches your documents
- Names are spelled as shown on government IDs
- Every figure adds up, and decimals or commas are placed correctly
- Deductions and credits reflect your paperwork (never round off numbers)
- Attach all “Copy B”s of W-2s, 1099s, or supporting schedules to the front of your return
Review the IRS instructions that come with each form to avoid missing extras—each year, rules change. Don’t trust calculators alone; a misplaced decimal changes outcomes fast.
Signing Your Tax Return
The IRS won’t process unsigned returns. Here’s what you need to know:
- A paper or “wet” signature is mandatory. E-signatures aren’t accepted when mailing.
- Both spouses must sign a joint return.
- If you have a preparer, they must fill out their section and sign too.
- Date your signature the day you sign. If you forget to sign, the IRS will send your return back—adding weeks to your refund.
If you use a power of attorney (POA), you’ll attach IRS Form 2848 as proof along with your return.
How to Properly Mail Your Tax Return
The presentation is almost as important as the paperwork. Improper mailing means lost returns or missing the deadline. Here’s how to avoid the pitfalls.
Finding the Correct IRS Mailing Address
Don’t guess when it comes to addresses. The IRS has different addresses by state, form type, and whether you’re including a payment.
- Find your exact mailing address on the IRS’s Where to File Paper Tax Returns page.
- Addresses change, so check the current one for 2025.
- If you’re enclosing a check or money order, you’ll use a different address than if you’re not.
- International filers and U.S. residents in territories get unique addresses.
A wrong address means delays—the IRS won’t forward your return.
Packaging and Mailing Your Return for Security and Proof
Packaging is about safety, privacy, and proof.
- Use a large manila envelope to keep forms flat—never fold forms unless needed.
- Place all documents in order: federal return, W-2s/1099s, schedules, and statements.
- Remove staples and paper clips; the IRS says not to use them.
- Mail your return using Certified Mail® or a service with tracking and proof of delivery, like USPS Tracking or Registered Mail.
A proof of mailing (like the receipt from Certified Mail) acts as insurance if there’s a deadline dispute.
- Drop your return at the post office or have it postmarked before the April deadline (usually April 15).
Best Practices and Common Pitfalls to Avoid
It’s easy to slip up when you’re rushing.
- Add the right postage. If your envelope is thick or heavy, ask the post office to weigh it. Under-stamped returns arrive late—or not at all.
- Never mail on April 15th after the post office closes; postmark time counts.
- If you’re enclosing a check, write your Social Security number, tax form (e.g., “2024 Form 1040”), and phone number on the memo line.
- Don’t include cash—only checks or money orders made out to “United States Treasury.”
- Keep your proof of mailing until the IRS cashes your refund and the statute of limitations passes (usually three years).
- Make sure everything is signed and in the proper order—unsigned returns are treated like you didn’t file at all.
Conclusion
Mailing your tax return is simple when you follow a clear plan. Gather the right forms, check every number, and organize your documents. Make sure your paper is signed, mailed to the right place, and sent with enough time and proof. Pay attention to the little details—one overlooked step can stall your refund or invite headaches.
Remember, most people are eligible to e-file, which is faster and often more accurate. But for those who prefer the paper route, double-check each stage before sending. The IRS processes millions of paper tax returns every year—yours will go much smoother if you follow these steps.
Always save copies. Always send with tracking. Attention and care now prevent stress down the line. Happy filing!